A streak of bright blue paint snakes under the edge of the tape, drying into a jagged line across a freshly renovated living room—just one of the 14 DIY mistakes that can cost homeowners serious money in rework, repairs, and even medical bills.
Over the past few years, home‑improvement booms and rising repair costs have pushed more people to tackle jobs themselves, and the same small, preventable errors keep showing up in inspection reports, insurance claims, and safety guidance.
The Breakthrough Moment in DIY Awareness
As home‑improvement searches surged after the pandemic, more people tackled painting, drilling, and furniture upcycling without professional help—and often without reading the fine print on safety or preparation.
Insurers, builders, and safety organisations in the UK and elsewhere have repeatedly warned that poorly executed DIY can lead to injuries and repair bills running into the thousands, especially when jobs need to be redone by professionals.
Why DIY Mistakes Matter More Now
Recent reviews of accident and safety data show that many home‑improvement incidents involve basic tasks—such as drilling, sanding, cutting, or knife work—that go wrong because of skipped preparation, dull tools, or poor technique.
At the same time, paint‑fume and dust exposure remain under‑reported health risks, particularly when people sand old finishes or paint in poorly ventilated spaces, where moisture and volatile organic compounds (VOCs) linger longer than expected.
DIY Mistake #1: Closing Glue Bottles Too Fast
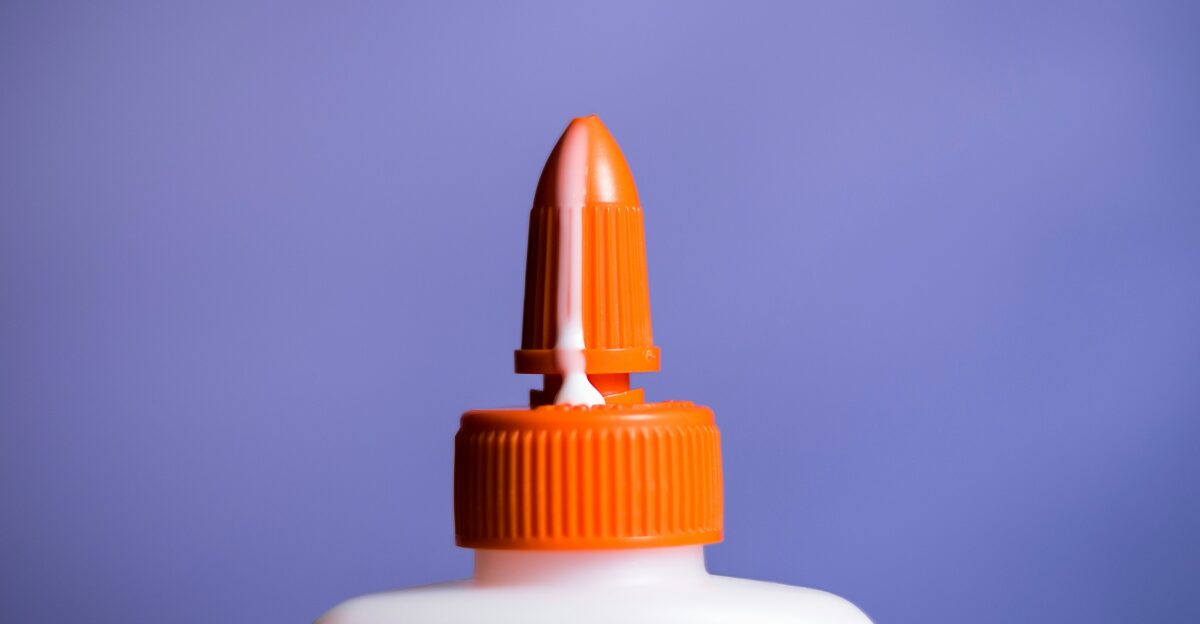
Snapping a glue cap shut while excess adhesive still coats the nozzle traps liquid in a narrow space, where it gradually hardens into a solid plug.
That clog ruins precision, wastes product, and tempts users to cut the tip shorter for flow, reducing control and increasing mess risk. Wiping the tip clean and holding the bottle upright briefly before closing helps keep glue usable and lines neater over time.
DIY Mistake #2: Painting Directly From the Can
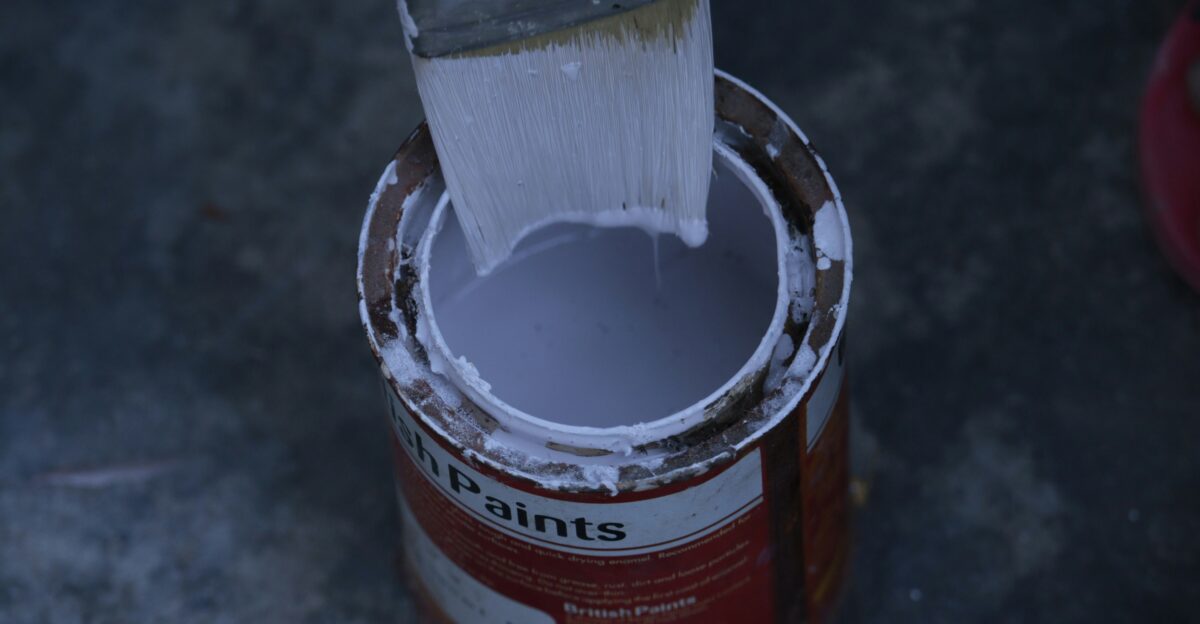
Dipping a dusty or worn brush straight into a full paint can quietly introduces fibres, debris, and dried flakes into the entire batch. Those contaminants later show up as bumps, streaks, and discoloured specks on walls, often forcing extra sanding and repainting.
Pouring a working amount into a tray keeps the main can sealed, cleaner, and easier to store for future touch‑ups.
DIY Mistake #3: Cutting Upholstery Before Draping

Cutting fabric before draping it over a chair or sofa often leads to off‑centre patterns and pieces that are just a few centimetres too small to staple.
Fixing this typically means buying more fabric or living with misaligned stripes and motifs that make the whole project look amateur. Draping first shows how the pattern will fall and confirms there is enough fabric for each section before cutting.
DIY Mistake #4: Spray‑Painting on Newspaper
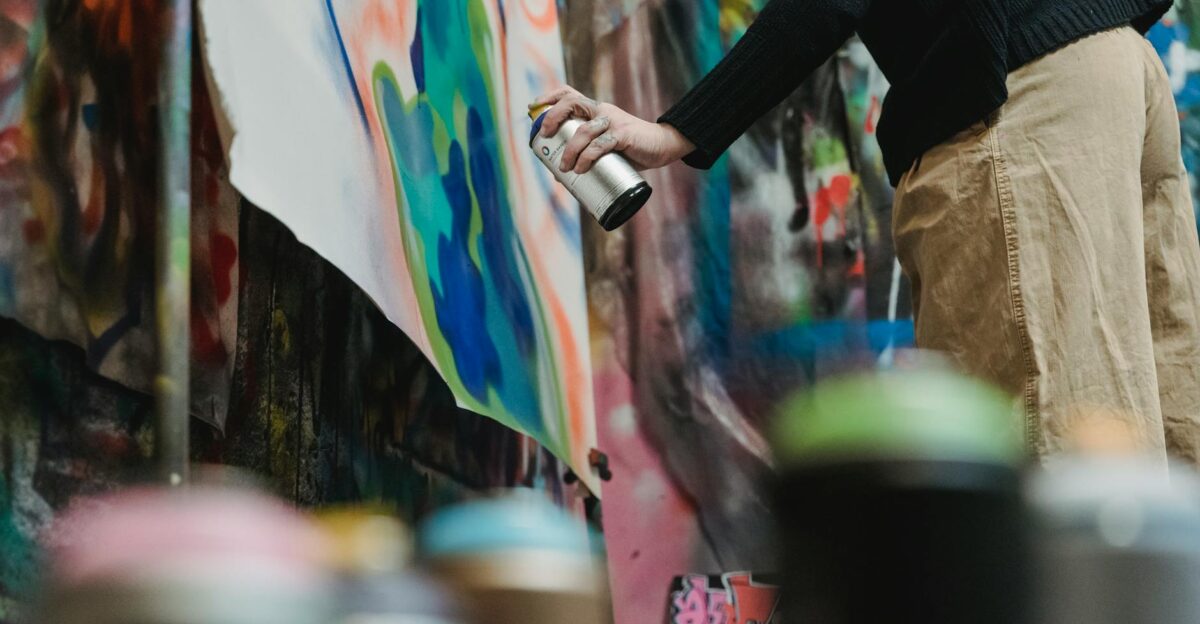
Newspaper seems like a thrifty drop cloth, but its lightweight sheets can lift under spray pressure and stick to wet paint. Once fused, the paper’s ink and fibres contaminate the finish and often require sanding and re‑coating to fix.
Heavier cardboard, plastic sheeting, or kraft paper lies flatter under aerosol sprays and is less likely to bond to the surface.
DIY Mistake #5: Pressing Too Hard With Craft Knives
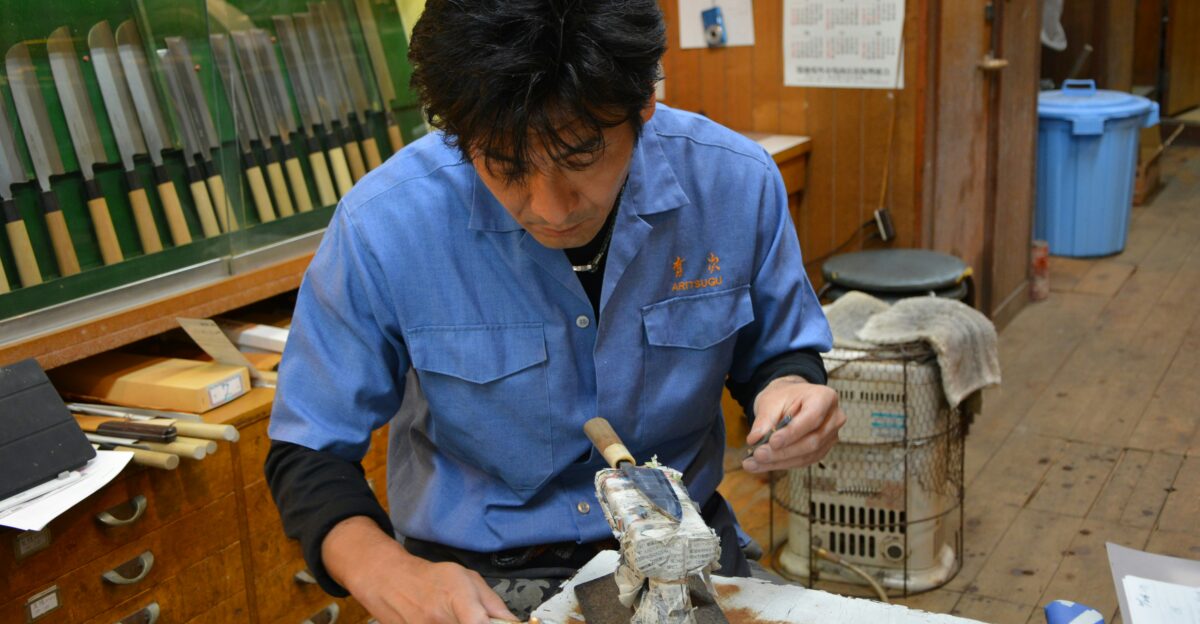
Driving a craft knife through card or foam in a single heavy pass increases the chance of the blade skidding off the line or snapping.
Multiple light passes follow the intended path more accurately, reduce stress on the knife, and produce cleaner cuts. Safety guidance also stresses using sharp blades and working on a stable cutting surface to reduce slips and injuries.
DIY Mistake #6: Using Only One Sandpaper Grit
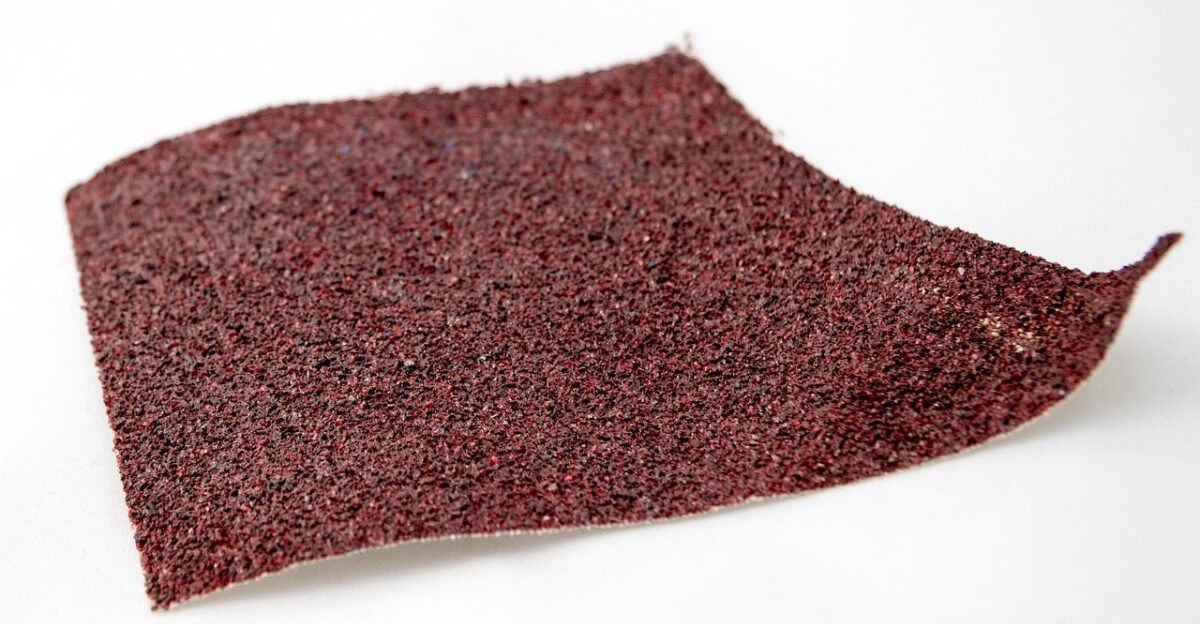
Trying to sand everything with a single grit is a common shortcut that either fails to remove old finishes or leaves visible scratches.
Standard practice is to start with a coarser grit to strip coatings and defects, then move through finer grits to achieve a smooth, paint‑ready surface. Skipping these steps often means imperfections telegraph through the final coat, forcing additional sanding and repainting.
DIY Mistake #7: Storing Markers Upright
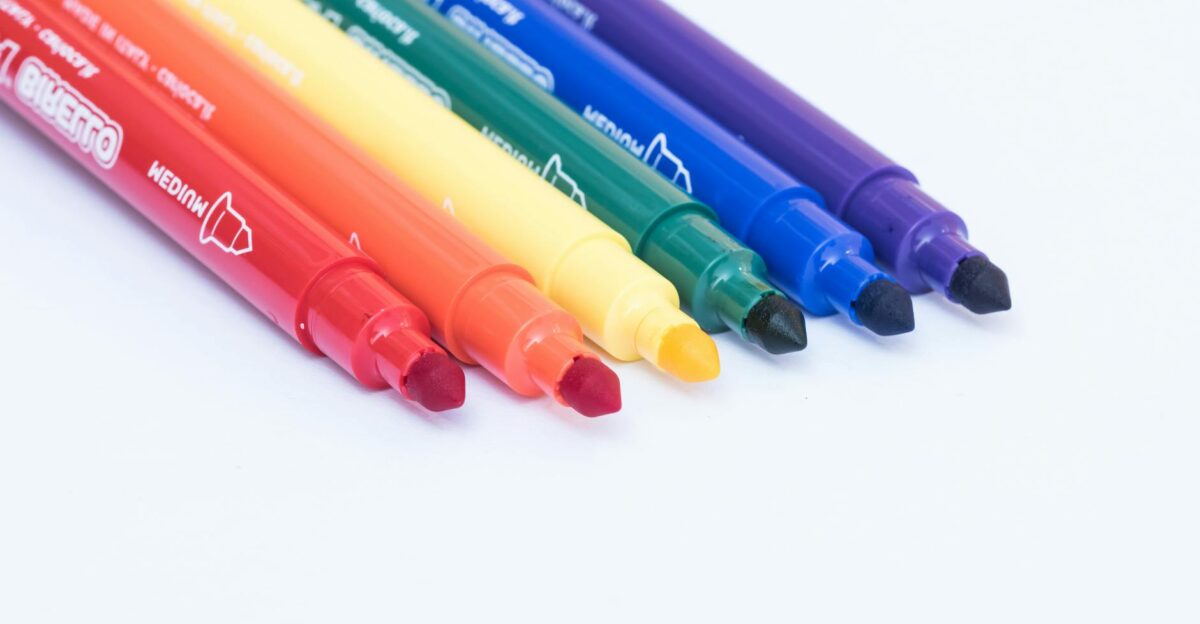
Storing markers tip‑up can gradually dry out the nib, while always tip‑down can cause ink to pool and blotch when you start writing. Many art and stationery brands recommend horizontal storage—especially for dual‑tip markers—so pigment stays evenly distributed along the barrel.
Adopting that habit at home helps lettering, colouring, and detail work stay more consistent and extends the life of the pens.
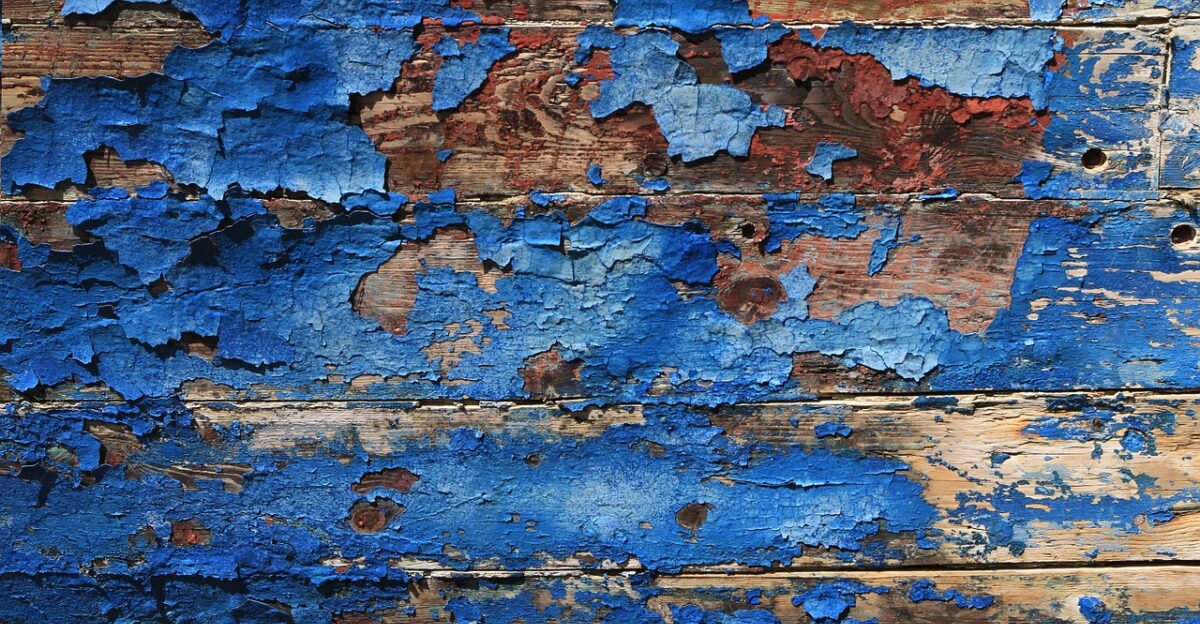
DIY Mistake #8: Sanding Vintage Paint Without Testing
Sanding old furniture, windows, or trim without checking for lead can create fine, hazardous dust that settles on floors, toys, and soft furnishings. Public‑health agencies emphasise that no safe blood lead level has been identified for children, and that lead‑contaminated dust is a major exposure source.
Guidance from health and environmental authorities advises that paint applied before the late 1970s in many countries may contain lead, and homeowners should assess and manage these surfaces carefully or seek professional help.
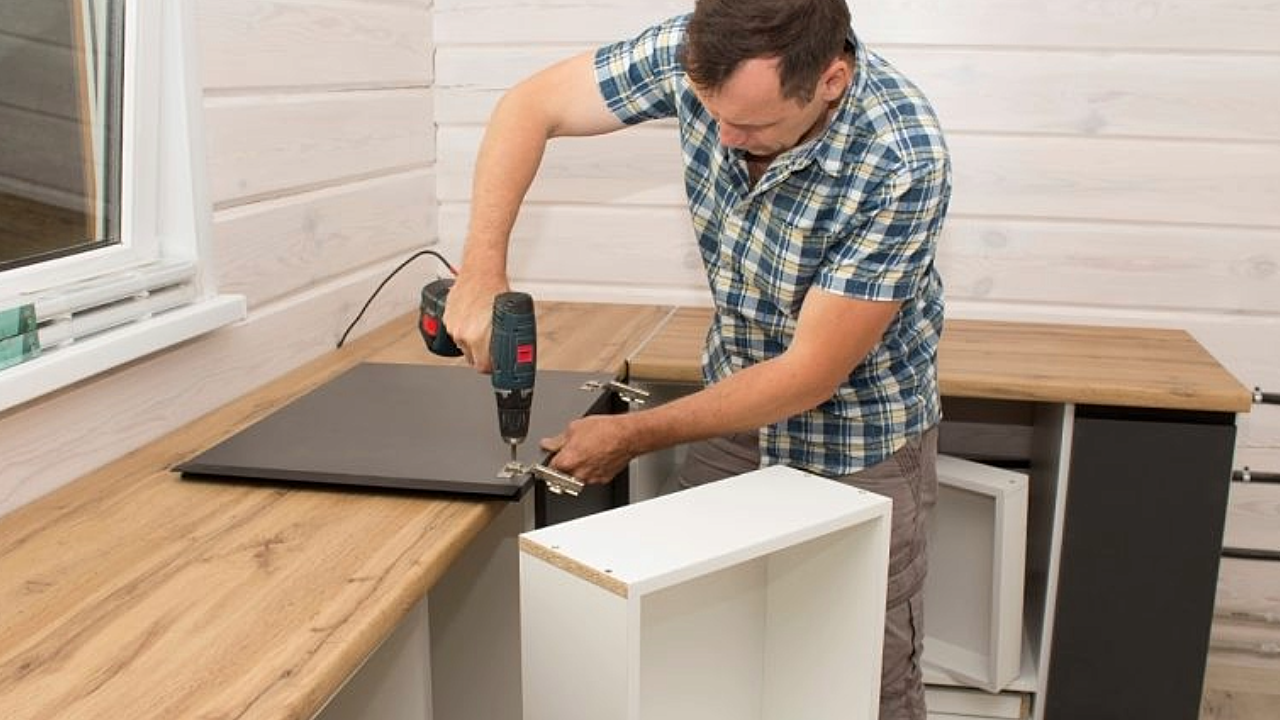
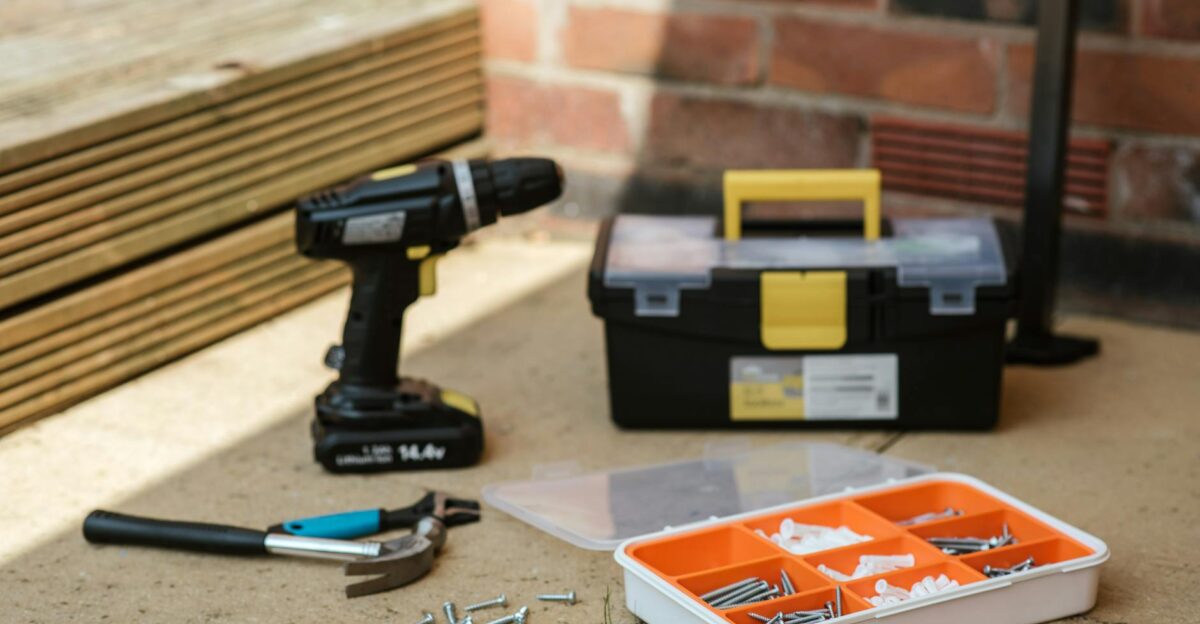
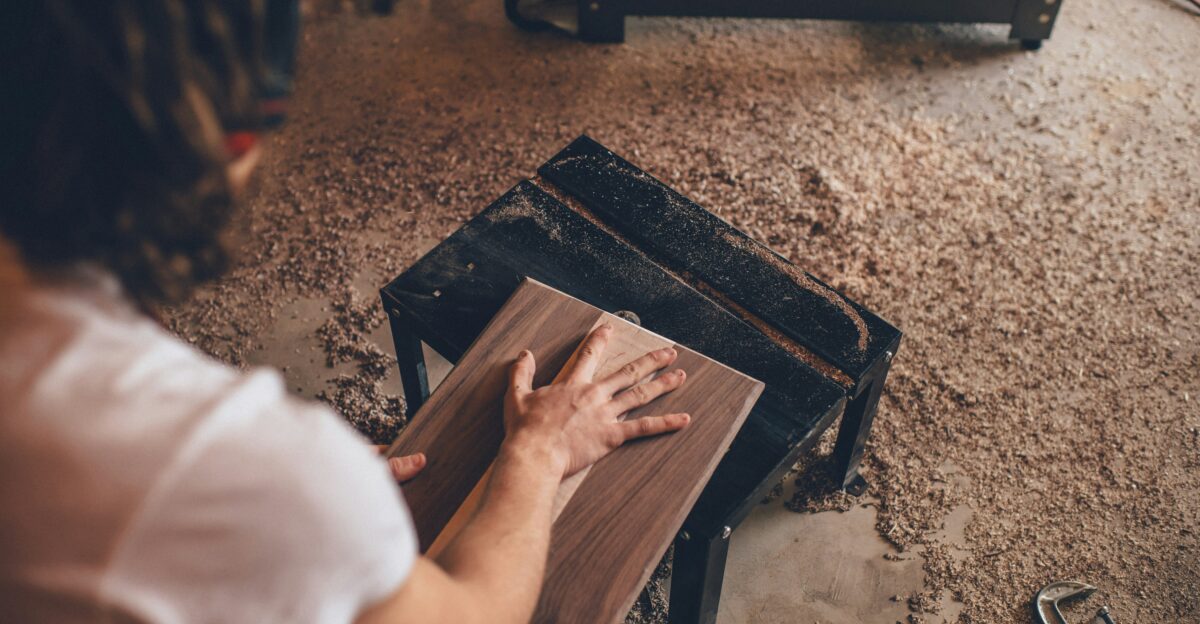
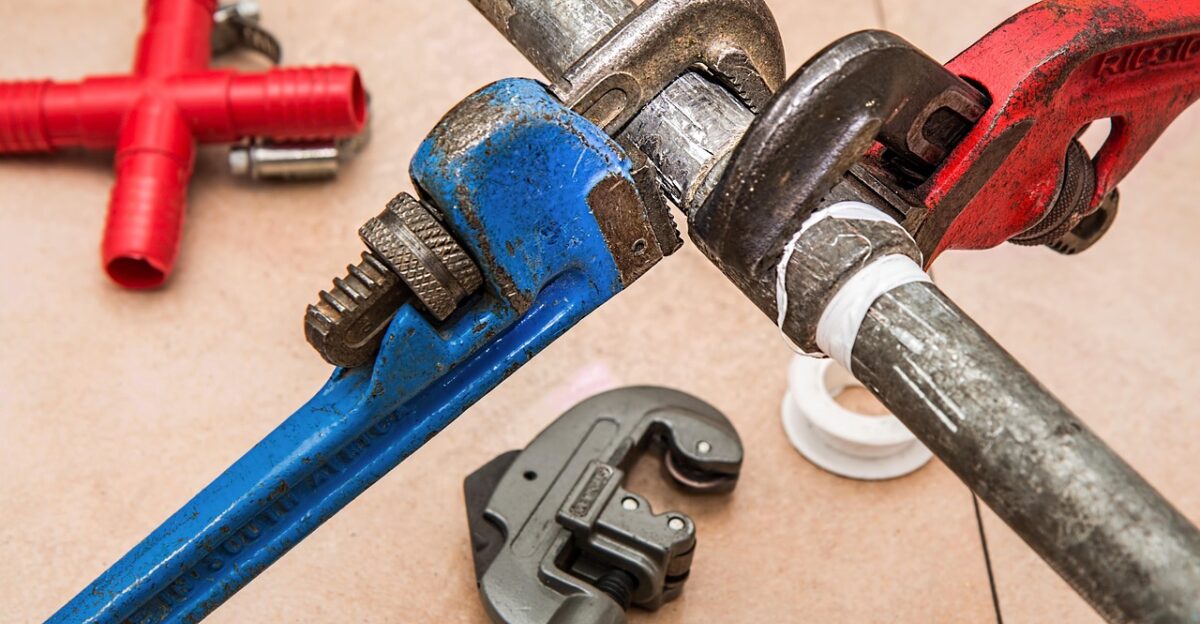
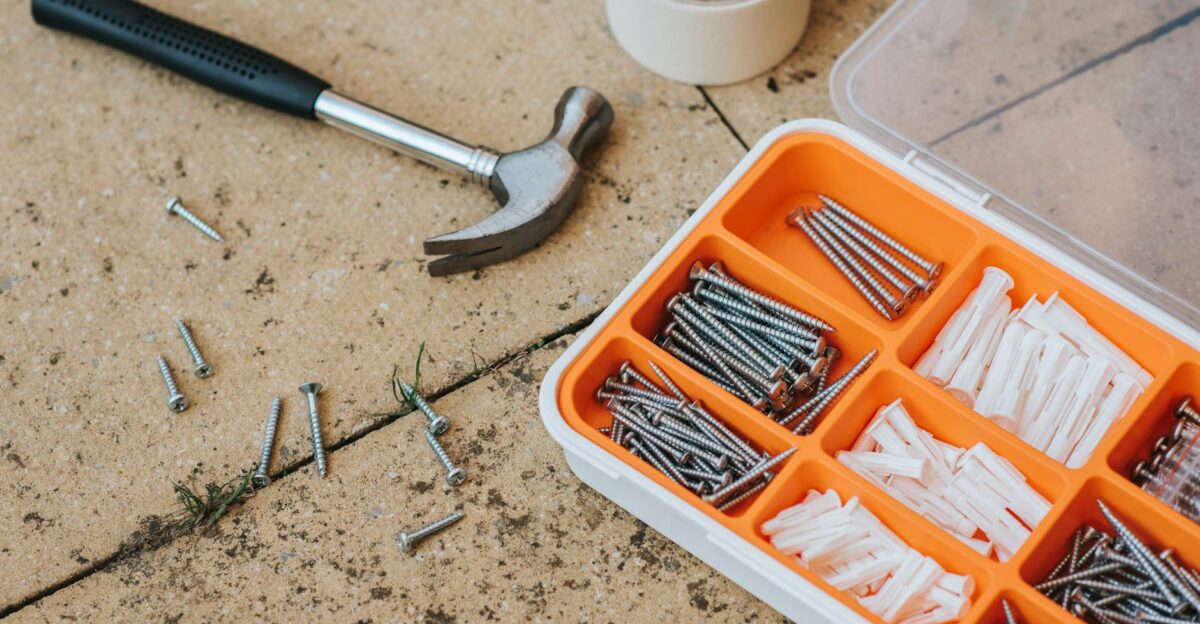
DIY Mistake #9: Skipping Pilot Holes Before Screwing
Driving a screw straight into timber without a pilot hole can force fibres apart so quickly that the board splits along the grain, especially near edges or ends.
A pilot hole drilled slightly smaller than the screw’s core relieves that stress and guides the screw more easily. Hardware and woodworking guides consistently recommend pilot holes to prevent splitting and make fasteners easier to drive.
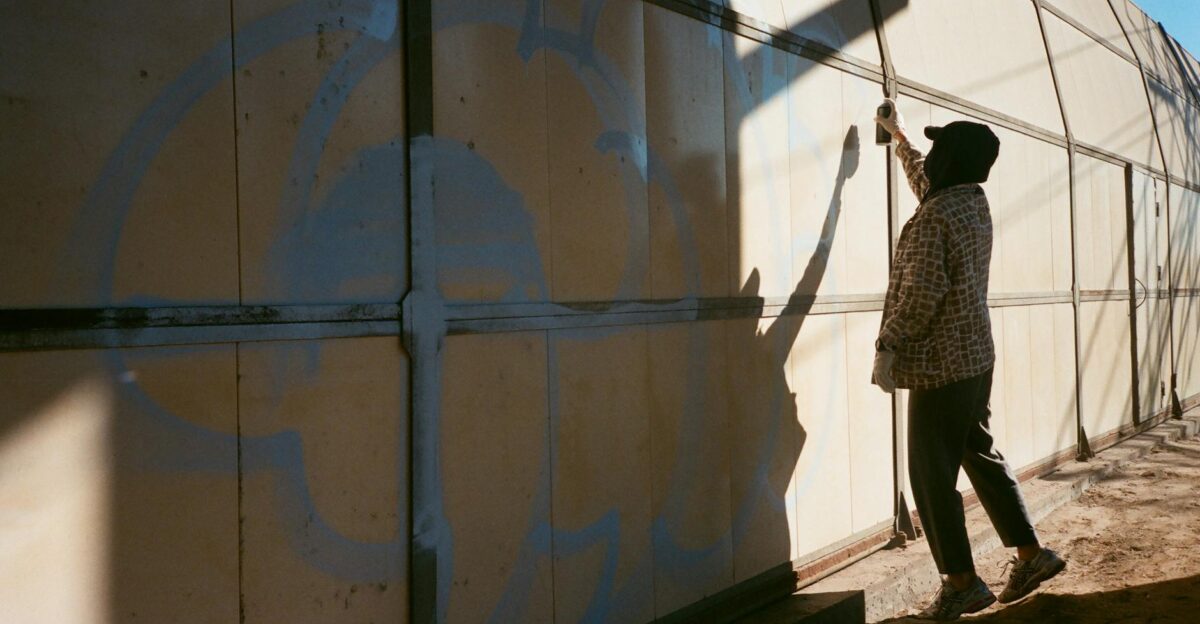
DIY Mistake #10: Trusting Unsealed Painter’s Tape
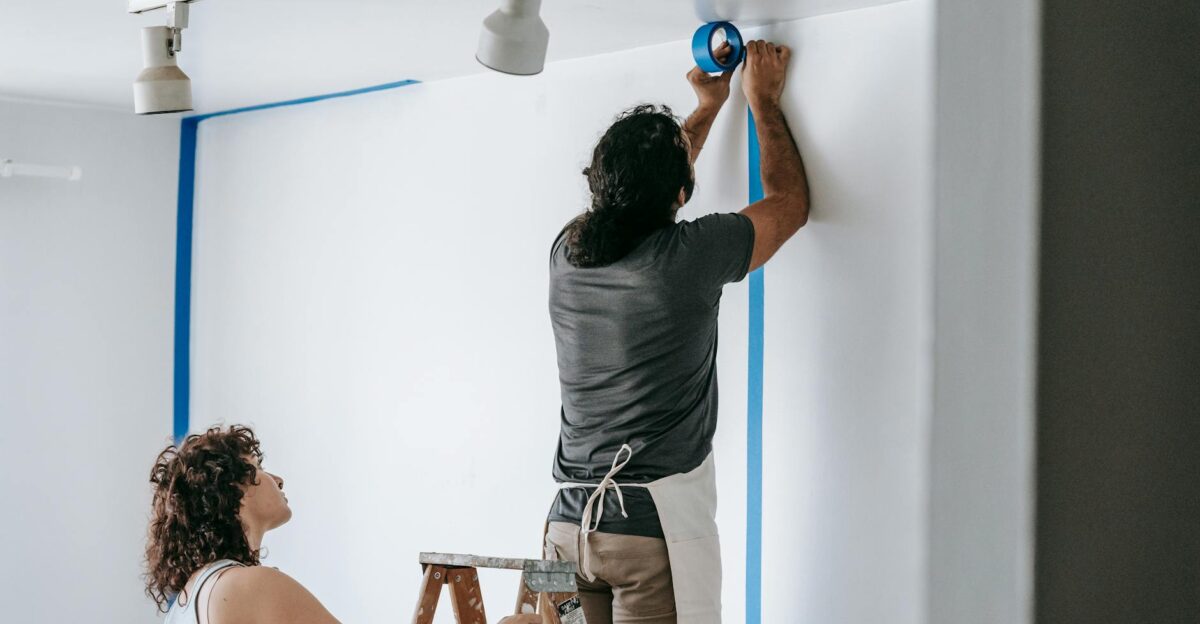
Even quality painter’s tape can allow paint to creep underneath if it is only lightly pressed on. Running a flat‑edged tool—such as a putty knife or old card—along the tape edge creates a firmer seal that helps block seepage and produces straighter lines.
Professional painters widely credit careful taping and sealing as one of the simplest ways to achieve clean, sharp edges on walls and trim.
DIY Mistake #11: Painting in Heavy Humidity
Water‑based latex paint dries by releasing moisture into the surrounding air, so high humidity slows that process and can leave surfaces tacky for hours.
Paint and coatings experts note that poorly ventilated, humid rooms trap both moisture and VOCs, keeping odours and emissions in the space for longer. Manufacturer and contractor guidance repeatedly stresses that good ventilation is essential for safe, predictable drying and for reducing fume exposure.
DIY Mistake #12: Peeling Stencils After Paint Has Set
Waiting until paint is fully dry before removing a stencil can allow the film to bond to the surface, increasing the risk of lifting flakes along with the stencil.
Many crafters and paint companies recommend peeling stencils carefully while the paint is still slightly wet or just tacky, so the edges release cleanly. Testing a small corner first helps you judge the ideal timing for your specific paint and surface.
DIY Mistake #13: Cutting Ribbon Straight Across
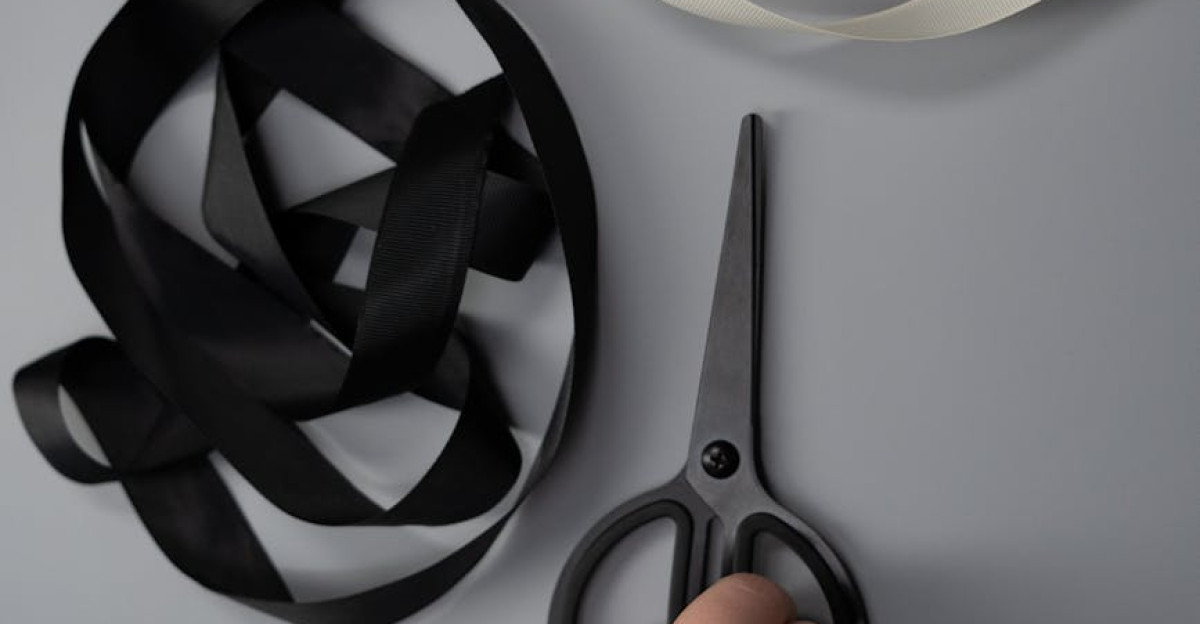
Cutting ribbon in a straight line produces a wide edge where threads easily separate and fray. Sewing and craft experts commonly suggest angling the scissors at roughly 45 degrees or cutting a V‑shaped notch to reduce exposed fibres and fraying.
For high‑wear items like gift bows, key fobs, or decorative trims, users often seal the cut edges with clear nail polish, heat, or dedicated fray‑prevention products.
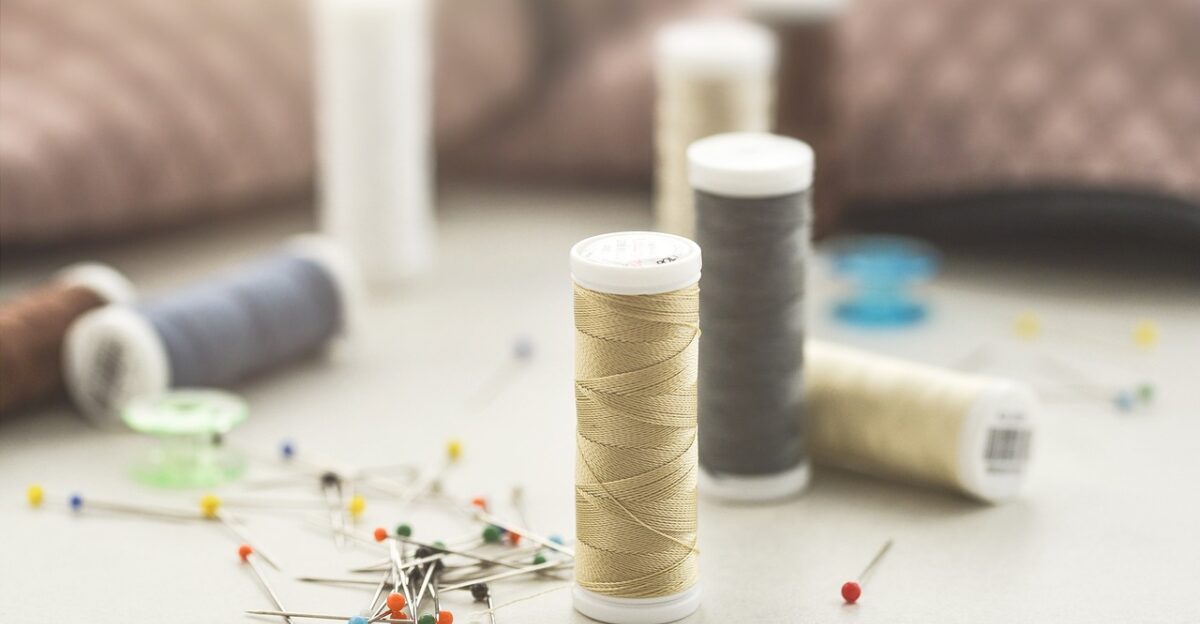
DIY Mistake #14: Leaving Ink on Stamps
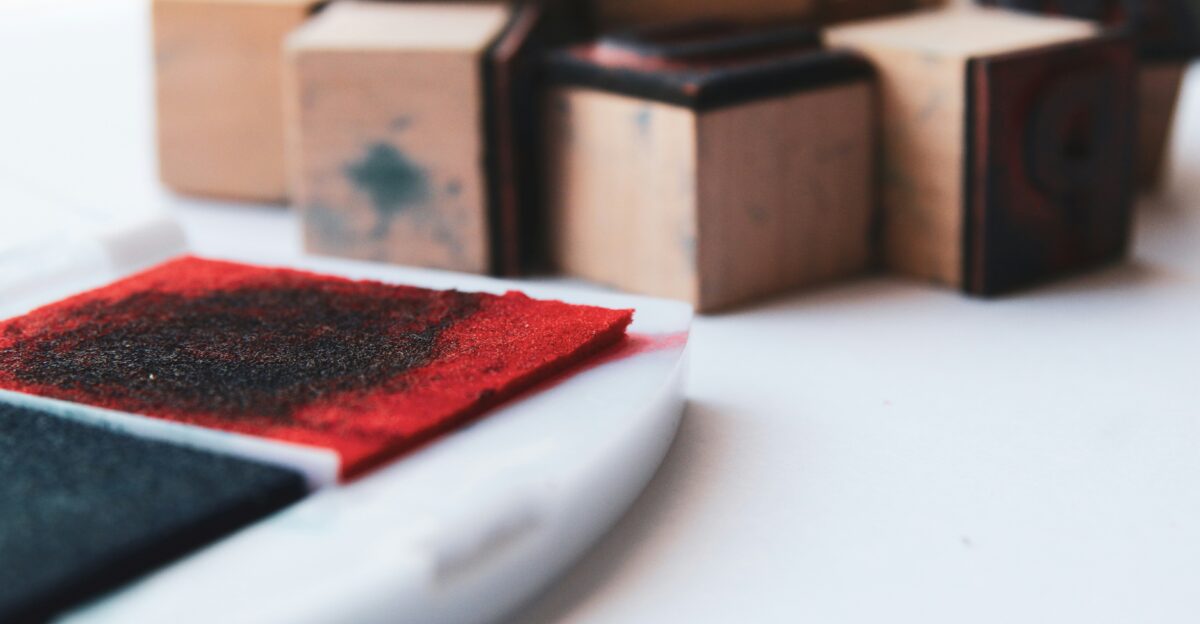
Leaving ink on rubber or clear stamps between uses lets pigment dry into a film that partially reactivates later, muddying colours and softening fine lines.
Stamp and craft companies recommend pressing the stamp on scrap paper until impressions fade, then cleaning with a product suited to water‑based or solvent inks. Regular cleaning keeps designs crisp and extends the life of both stamps and ink pads.
How These DIY Mistakes Shape the Market
Retailers, insurers, and training providers increasingly treat “DIY mistakes to avoid” as a key theme because recurring errors drive returns, complaints, and claims.
Surveys and campaign work from UK safety and insurance organisations highlight that poorly planned DIY projects often lead to avoidable accidents and expensive call‑outs when professionals are brought in to fix mistakes.
Building a Better DIY Mindset
A key lesson from these 14 DIY mistakes is that small habits compound into big results over time. Treating every project—no matter how simple—as a chance to practise good prep, ventilation, safe tool handling, and clean technique builds confidence as well as finished quality.
The payoff is fewer panicked trips to the hardware store, fewer emergency tradesperson call‑outs, and more projects that genuinely look and feel professional.
What’s Next for Safer Home Projects
Looking ahead, experts expect DIY safety messaging to appear even more prominently on product labels, retailer websites, and video tutorials.
Features such as QR‑linked guides, clearer warnings about fumes and dust, and step‑by‑step checklists are becoming more common as brands try to make best practices as visible as glossy “after” photos.
Sources:
“Protect Your Family from Sources of Lead (Lead in Paint and Dust).” U.S. Environmental Protection Agency (EPA), 2025.
“About Lead in Paint and Dust and Soil.” Centers for Disease Control and Prevention (CDC), Childhood Lead Poisoning Prevention Program.
“Ventilation Is Required When Paint Is Drying.” Resene Paints technical memo.
“The Importance of Proper Ventilation During Interior Painting Projects.” First Place House Painting, 2025.
“Revealed: The Common DIY Mistakes Costing Brits Up To £35,000 To Repair.” Build Review, 2024.
“When DIY Goes Wrong: The DIY Projects That Could Cost Brits Nearly £10,000.” True.co.uk, 2024.
“How to Drill a Pilot Hole in 4 Easy Steps.” Lowe’s Home Improvement, 2025.
“Sandpaper Grit Guide: Understanding Different Sanding Grits.” Excel Blades, 2025.
“Ask the Desk: Storing Pens Up or Down?” The Well‑Appointed Desk.
“Quick Tip: Stop Ribbon Fraying.” The Crafty Mummy.
“How to Clean Rubber Stamps.” RubberStamps.com.